
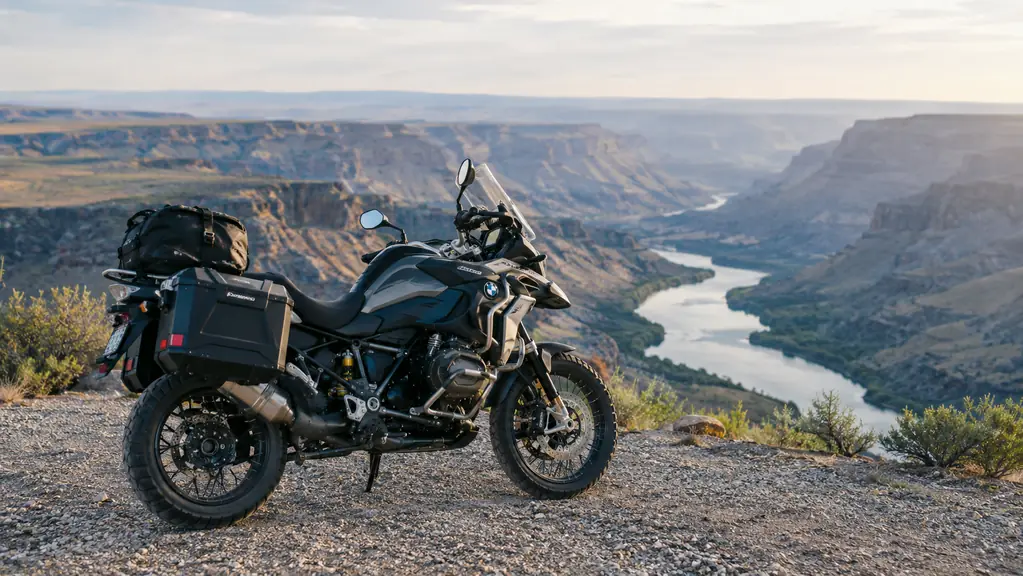
I bought my 2017 Road King new, and it has about sixty thousand miles on it now. I ride it into town most days, run the canyon roads south of Twin Falls on weekends, and every summer Carol and I take one long multi-state trip on it. Over those trips I have loaded the bike every way there is to load it, and the one piece of luggage that has earned its place is the tail bag. The Rhinowalk expandable tail bag has been on the back of my bike for two full seasons, and this is the packing routine I have settled into around it.
Here is what most riders do not understand about a tail bag until they own one: it sits directly behind you, so it is the one piece of luggage you can feel on every acceleration, every brake, and every corner. A bag loaded wrong makes the bike feel like it has a passenger who keeps shifting around. A bag loaded right you forget about by the second day. The difference is not the bag. It is the order of operations, and that order is what I want to walk through here.
This is not a list of clever tricks. It is the plain routine I use: make a list, balance the weight, pack in layers, strap it down, and test it before you go. Five steps, none of them hard, and they turn a bag that can feel like a problem into something you stop thinking about. If you already own a tail bag, the steps apply to whatever brand you have. If you are shopping for one, the Rhinowalk bag is the one I use, and I will say why as I go.
The tail bag that made me stop fighting my luggage
The Rhinowalk 33-45L expandable tail bag has the straps, the waterproofing, and the included helmet rain cover to handle a full week on the road. The packing steps below assume you are starting with one.
Amazon Check Today's Price on Amazon →Step 1: Build the list before you touch the bag
The biggest packing mistake I see, and the one I made for years, is deciding what to bring by looking at how much room is left in the bag. That is backwards. You decide what you need first, then you look at whether it fits, and then you cut. I start with a written list, on paper or in my phone, of everything the trip actually requires: clothes, toiletries, a small tool roll, a tire repair kit, a rain layer, chargers, and the registration and insurance for the bike. Then I go through the list once and cut anything I could buy at a gas station along the way.
This matters more with a tail bag than with hard luggage because a tail bag has no rigid walls. Its shape follows its contents. Fill it with loose odds and ends and it bulges in odd directions, and the straps end up fighting the shape instead of holding it. A tight list makes a tight bag. I pack about ten days of clothes for a two week trip because I know I will do laundry once on the road, and I keep the things I need the first night in a separate small stuff sack so I am not digging through the whole bag in a motel parking lot at nine at night.
The Rhinowalk bag expands from 33 to 45 liters, and that expansion is a big part of why I like it. But I treat the extra volume as a reserve, not a starting point. I pack at the smaller size and keep the expansion for the ride home, when Carol has bought something at a shop in some small town and there is no way it is fitting anywhere else. Packing to the full 45 liters on day one just means a heavier bag and a bike that handles worse for the whole trip.
Step 2: Put the heavy stuff forward and low
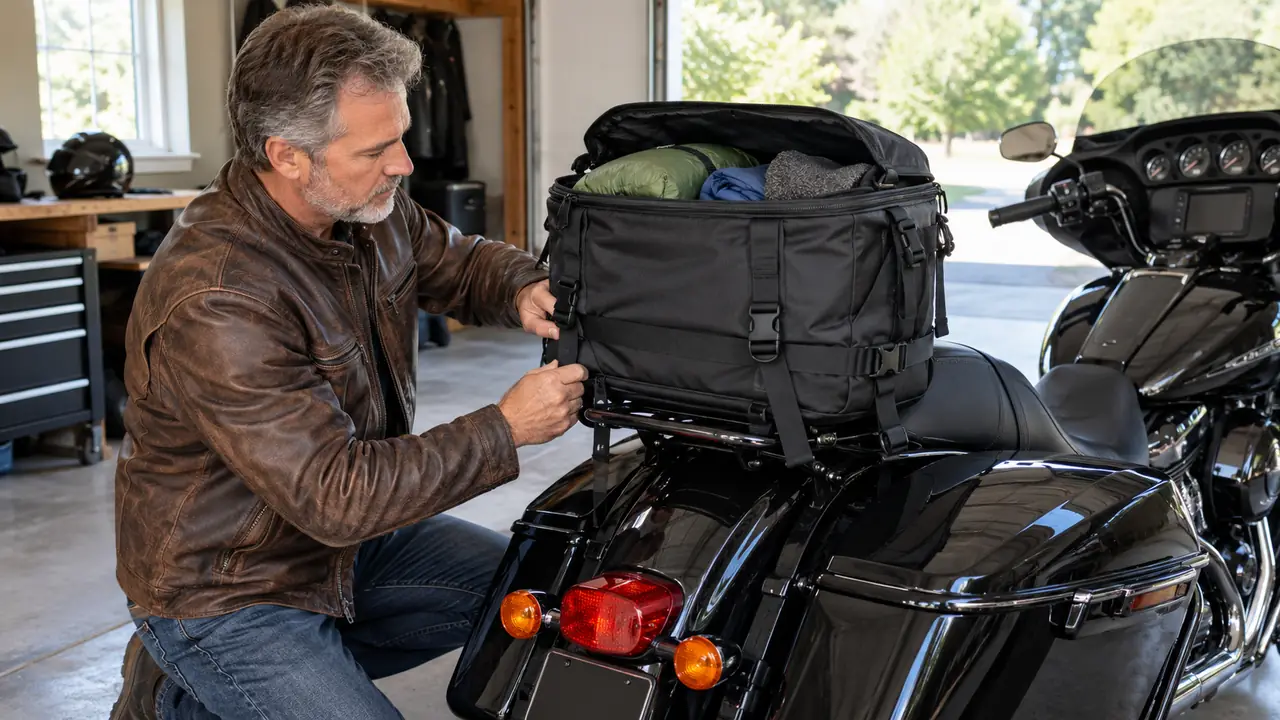
A tail bag sits behind the rear axle, which is the worst possible place on a motorcycle for weight. Every pound you put back there lightens the front tire and makes the steering feel vague, and that gets worse on a bike that is already carrying saddlebags or a passenger. My rule is simple: the heaviest things go at the bottom of the bag, and the heaviest of those go at the front of the bag, against the back of the rider's seat.
On my bike, the tool roll and the tire repair kit go at the bottom, forward, up against the seat. That keeps the center of gravity as low and as close to the middle of the bike as a tail bag will allow. The clothes go on top of that, and the lightest things, the rain layer and the rain cover, go at the very back. If you have ever felt the front end of a bike get light at highway speed, you already know why this matters. It is the difference between a bike that tracks straight and one that wanders.
Side to side balance matters too, more than most riders think. A bag that is heavy on the left will make the bike want to lean into left hand corners and stand up in right hand ones. It is subtle at first, then exhausting after a four hundred mile day. I check by lifting the loaded bag by its handle before I put it on the bike. If it tilts to one side, I rearrange. That check takes ten seconds and it has saved me from a lot of tired arms.
Step 3: Pack in layers, not in handfuls
Once the list is set and the weight is sorted, the order things go into the bag matters more than people expect. I start with a flat layer of soft things, a puffy jacket or a pair of jeans, so nothing hard digs into the bottom of the bag. Then the dense items go in, pushed forward against the seat side. Then the clothes, rolled instead of folded. Rolled clothes fill the odd spaces a tail bag always has, and they come out of the bag presentable enough for a motel and a dinner out.
I pack a small dry bag inside the main bag for anything that cannot get wet: the phone charger, the wallet, the camera. The Rhinowalk bag is waterproof, and it comes with a rain cover for the helmet, so rain is not something I lose sleep over. But a dry bag inside costs almost no space and means I never have to wonder whether a seam or a strap that worked loose in a downpour got to my electronics. Electronics at the bottom of a wet bag is a bad afternoon on a trip.
Leave what you need at the first stop on top, at the back of the bag. For me that is a change of shirt, a toothbrush, and a small lock for the bag. The first stop is usually a motel at the end of day one, and reaching into a fully packed bag in a parking lot in the dark, digging for a toothbrush, is exactly the kind of small annoyance that makes a long trip feel longer. Thirty seconds of planning saves ten minutes of digging.
Step 4: Strap it down like you mean it, then check it at the first stop
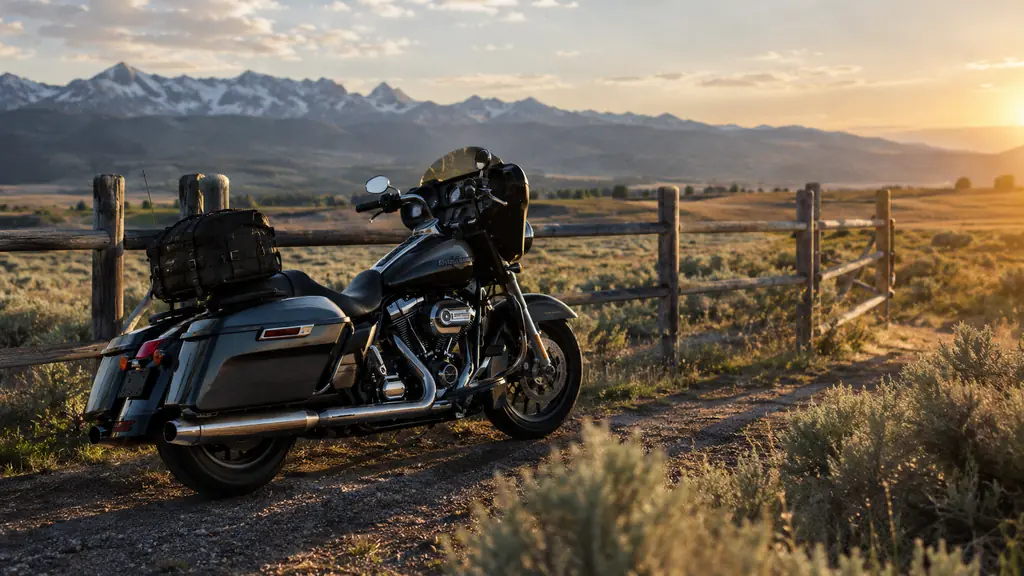
The Rhinowalk bag comes with sissy bar straps, and it has mounting points at the bottom corners so you can run your own straps down to the bike. I use both. The top straps hold the bag to the sissy bar or the luggage rack, and the bottom straps keep it from lifting off the seat at speed. A bag that is only strapped at the top will flap and slide on a rough road, and it will do it at the worst possible moment, mid corner, on a road you do not know.
Tension is a judgment call. Too loose and the bag shifts in corners. Too tight and you crush the contents or put too much strain on the mounting points. I tighten until the bag does not move when I push on it hard with my hand, then I give each strap one more pull. Then I do the part everyone skips: I stop after the first twenty miles and check every strap. The first stretch of road settles the load, and straps that felt tight in the garage will often be a half inch loose at the first stop.
After that first stop, I check the straps at every fuel stop for the first two hundred miles, then once a day after that. It takes thirty seconds. On one trip through Nevada, that habit is the only reason I did not lose the bag. A hundred miles of washboard had worked the straps loose, and I caught it at a fuel stop before the bag went over the side. You do not want to find out what a tail bag full of tools does at seventy miles an hour behind you.
Step 5: Do a loaded test ride the day before you leave
Never leave on a long trip with a loading setup you have not tested. The day before the trip, pack the bag exactly the way you will pack it for real, strap it down, and ride for at least half an hour on the kind of road you will actually be riding. For me that is a mix of interstate and the canyon roads south of Twin Falls. I am checking three things: how the bike steers, whether the bag moves, and whether anything rubs.
Rub points are the thing people miss. A tail bag that sits too far forward can touch the rider, and one that sits too far back can hit the fender or the turn signals on a bumpy road. Straps that are too long can flap against the paint at speed. I run the bike up to highway speed on the test ride, then stop and check the bag, the straps, and the paint for signs of rubbing. It is much easier to fix a rub in the driveway than at a rest area in the middle of Wyoming.
The test ride is also when I set the rear suspension for the loaded bike. A fully loaded tail bag adds real weight to the rear, and the bike will wallow in corners if the preload is set for a solo rider. I add a turn of preload to the rear shock on my bike, and the owner's manual for your bike will tell you what to do for yours. It is a twenty minute job and it changes the way the bike handles more than any other single adjustment.
What Else Helps
A few things make the whole system work better. I keep a small cargo net in one of the saddlebags for the times I need to carry something bulky, like a jacket or a helmet, on top of the bag. The Rhinowalk bag comes with a rain cover for a helmet, which matters if you strap a helmet on top of the bag while you walk around a town for an afternoon. A wet helmet on day three of a trip is a miserable way to start a ride.
I also carry a small tool roll and a tire plug kit, and I run a cable lock through the bag handles and around the frame when I leave the bike parked. That will not stop a determined thief, but it will stop the casual one, and the casual one is most of what you will meet at a trailhead or a motel lot. The Rhinowalk bag has held up through two seasons of sun, rain, and the kind of vibration a touring bike puts through its rear end, and the straps and zippers still work like they did on day one.
One more thing: do not overload the bag just because it expands. The 45 liter size is for the ride home, not the ride out. A lighter bike is a safer bike, and a bag that is not stuffed to the gills is a bag whose straps stay where you put them. That has been the biggest lesson from my miles with this bag, and it is the one I would pass along.
I stopped after twenty miles and the straps had already worked a half inch loose. That is why I check at every fuel stop for the first two hundred miles.
Pack it once, pack it right, and forget about it
The Rhinowalk 33-45L expandable tail bag is what I load every trip. If you want the same setup, it is on Amazon with the sissy bar straps, waterproofing, and helmet rain cover included.
Amazon Check Today's Price on Amazon →