

I have been riding for about 30 years, and I can tell you the exact moment I stopped buying motorcycle gloves by guesswork. It was a cold morning outside Twin Falls, about 40 miles into a ride, when my right hand started going numb. The gloves had felt fine in the shop. On the road, the palm seam sat right across my throttle grip, and I had been squeezing around it for an hour. Fit is the whole game with riding gloves. The COMMUTER pair I have been wearing since was sized the right way, and the difference is night and day. Let me walk you through how to choose a pair that fits right and breaks in fast, the way I do it.
The trouble is that every brand sizes gloves a little differently, and most sizing charts expect a measurement you have never taken. You order a large, get a medium that fits like a wetsuit, and decide the gloves are the problem. They are not. The sizing is. Once you measure your hand the right way and check a few fit zones, you can walk into any shop or order from any website and know within sixty seconds whether a pair is going to work.
Start With a Pair That Fits From the First Ride
The COMMUTER premium leather gloves are the pair I measured for, and the ones I reach for on every daily ride. The sizing runs true to the chart and the leather relaxes where it should.
Amazon Check Today's Price on Amazon →Step 1: Measure Your Hand the Way the Sizing Chart Wants
Grab a cloth tape measure, or a piece of string and a ruler. Measure around the widest part of your palm, just below the knuckles, with your hand open and fingers together. That number in inches is what most sizing charts, including COMMUTER's, are built around. My palm measures 8.5 inches, which puts me in a large for most brands. Write the number down and keep it somewhere, because you will use it for every pair of gloves you buy from here on.
Measure both hands, not just your dominant one. Most people have one hand slightly bigger, and you should size for the larger hand. Gloves that fit your left hand perfectly but pinch your right are going to come off at the first gas stop. And do not measure over a thick winter liner. You want the bare hand measurement, because the glove itself has to fit first.
If the sizing chart offers a finger length measurement, take that one too. Run the tape from the base of your palm to the tip of your middle finger. That catches the hands that are wide but short, or long but narrow. A glove can be right in the palm and still wrong in the fingers, and finger length is the one thing you cannot fix with break-in.
Step 2: Check the Three Fit Zones That Decide Everything
Once the gloves are on, stop looking at the price tag and start checking three zones. First, the fingertips. There should be no empty leather past your fingers, and your fingertips should just barely touch the end of the glove when you press your hand flat against a table. Second, the palm. When you make a fist, the leather should pull tight across your palm without gathering into a wad. Third, the cuff. The closure should hold snug without a gap, and you should be able to fit one finger between the cuff and your wrist.
The COMMUTER gloves I wear check all three. The fingertips are right where they should be, the palm does not bunch when I grip the bars, and the cuff closes down clean over my jacket sleeve. That last part matters more than people think. A glove that gaps at the wrist lets cold air and rain work their way in, and it gives you a flapping edge at highway speed.
The thumb gets its own check. Grab the bars the way you actually ride, then roll the throttle. If the thumb seam digs in or the material pulls across the web of your hand, that is a no. Thumb movement is the most repetitive motion in riding, and a seam in the wrong spot will make itself known by mile fifty.
Step 3: Try Them On in the Riding Position, Not the Standing Position
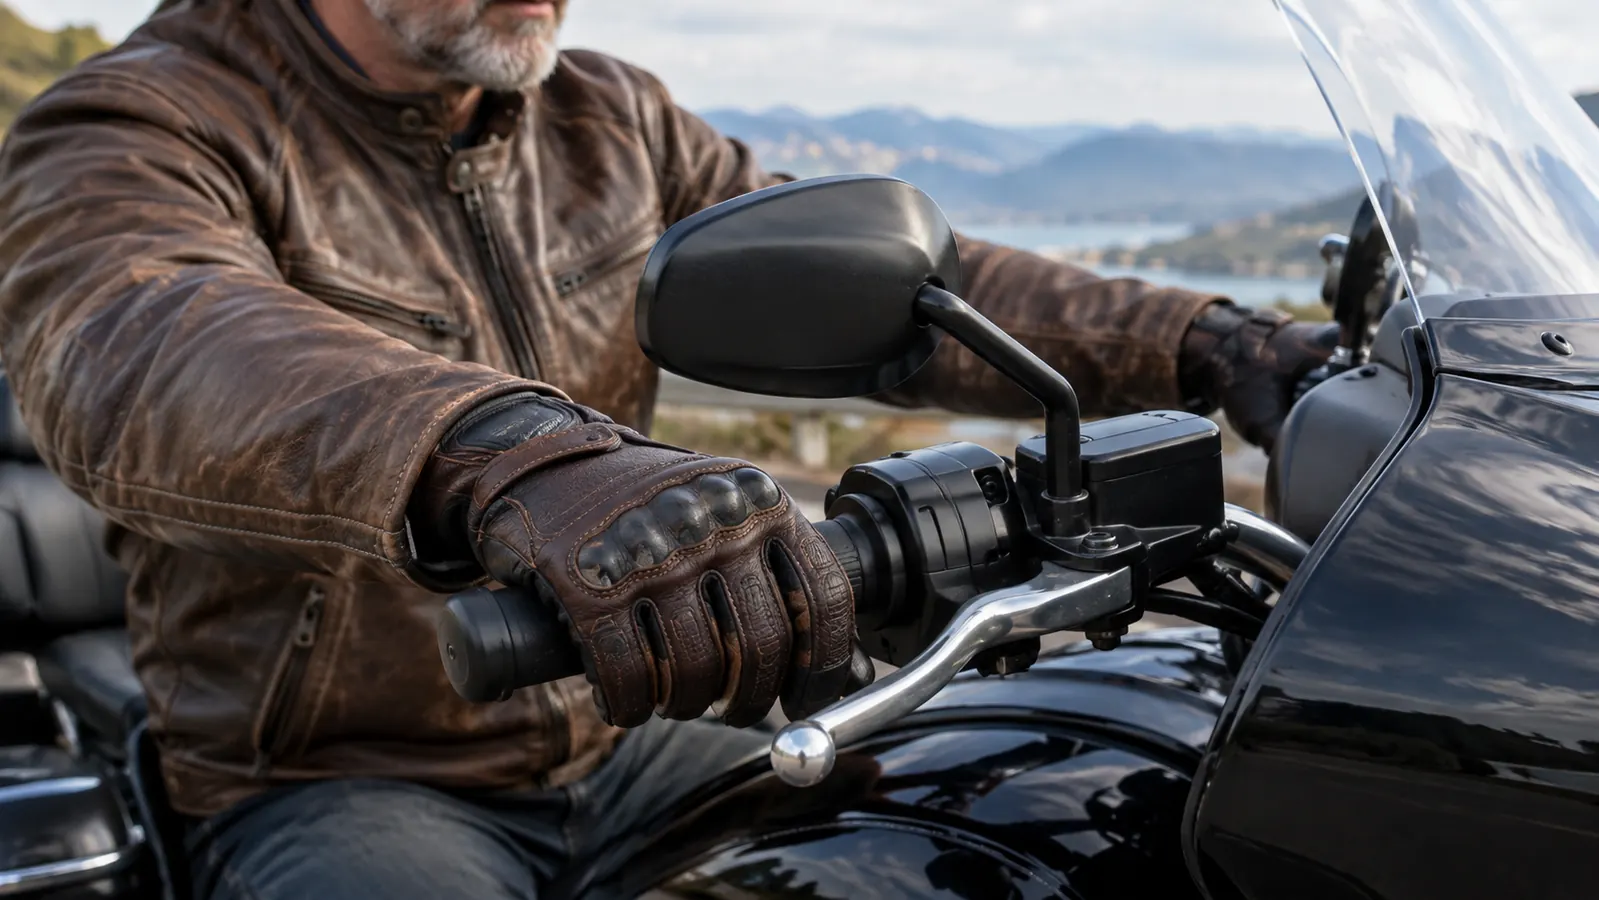
Gloves can feel perfect when your arms are at your sides and completely wrong when your hands are up on the bars. The riding position changes how the material sits across your palm and knuckles. So when you are testing a pair, get into the position you will actually be in. Reach for the bars, grip, release, grip again. Roll the throttle with your right hand. Work the clutch with your left. Reach for the brake lever and make sure you can feel it through the leather.
This is where a lot of gloves fail for me. They fit fine standing at the counter, but on my Road King the palm material gathers up right where I grip, and I spend the ride fighting the fold. The COMMUTER gloves have a pre-curved shape that follows a hand on the bars, so the leather stays where it belongs. That pre-curve also means they break in faster, because the material is already working with your grip instead of against it.
If you are ordering online and cannot try before you buy, do the same test at home. Put the gloves on, sit on the bike if it is handy, and run through the motions. If you do not have the bike handy, hold your hands up like you are gripping the bars and roll through the throttle motion. You will feel the problem spots in about a minute.
Step 4: Look at the Leather, the Seams, and the Stitching
Full-grain and top-grain leather stretch and conform to your hand. Cheap split leather, or leather that has been coated to feel soft in the store, does not break in so much as it just gets floppy. When you are looking at a pair, flex the material and watch how it behaves. Good leather moves with you and slowly relaxes. Coated leather resists the flex and then creases hard.
Seams matter as much as the hide. Run your finger along the inside of the glove. Every seam you feel is a spot that will press into your hand once you are gripping the bars. The best gloves put the major seams on the outside or in places your hand does not load. The COMMUTER gloves have the palm stitching placed so it sits outside the main grip area, and that is a big reason they do not bother me on long days.
Check the stitching at the stress points, especially where the thumb meets the palm and along the side of the pinky. Those are the first places a glove fails. Look for dense, even stitching, and skip gloves where the thread is loose or the seam is already pulling. Also check the cuff closure hardware. Velcro is easy to replace, but a cheap buckle or snap that is going to fail is a reason to move on.
Step 5: Break Them In the Right Way, and Do Not Rush It
A good leather glove needs a little time to become yours, but it should not take a month of suffering. The right way is to wear them in short sessions and let the leather warm up and relax. Start with a few rides around town. Then a longer loop through the canyon roads. The leather will soften where your hand bends and stay firm where it needs to protect.
The COMMUTER gloves broke in faster than any pair I have owned, and I think the pre-curve is doing the work. By the end of the first week, the leather had relaxed across the knuckles and the palm. By the second week, they felt like they had been on my hands for years. That is the break-in you are looking for: gradual, even, and done before you have put serious miles on them.
Two things not to do. Do not soak the gloves in water to speed things along. It stiffens the leather and can shrink it. And do not ride with a pair that is genuinely too small, hoping they will stretch. Leather stretches a little, not a size. If your fingertips are jammed against the ends from day one, they will still be jammed at mile 500, only now the gloves are broken in everywhere else and impossible to return.
Why Fit Matters More Than Any Other Feature
Armor and abrasion resistance only work if the glove stays where it is supposed to when you need it. A glove that is loose can shift in a slide, and a glove that is tight can cut off circulation before you ever leave the driveway. I have seen riders spend real money on a glove with every bell and whistle, then take it off after an hour because the palm seam was chewing into their hand. Fit is the feature that makes every other feature matter.
Comfort is not a luxury on a long ride, it is a safety issue. Numb hands react slower. A glove that bunches up forces you to grip harder, which tires your forearm, which makes you sloppier on the controls. When I ride the long multi-state loop I do every summer, I want the pair on my hands to be the pair I forget I am wearing. That only happens when the fit is right from the start.
What to Do If You're Between Sizes
Some of us land right on the line between two sizes. If your palm measures 8.6 inches and the chart says medium goes up to 8.5 and large starts at 8.7, you have a decision to make. My rule is to go with the larger size when the difference is close, because you can add a thin liner on cold days, and because a slightly roomy leather glove will snug up as it breaks in. Going smaller means the glove starts tight and stays tight.
The exception is if you are between sizes in the palm but the larger size puts your fingertips past the end of the fingers. Then the finger length wins, and you go with the size that fits your fingers. A glove that is a little loose in the palm is annoying. A glove that is too long in the fingers is dangerous, because it dulls the feel you need at the levers.
What Else Helps
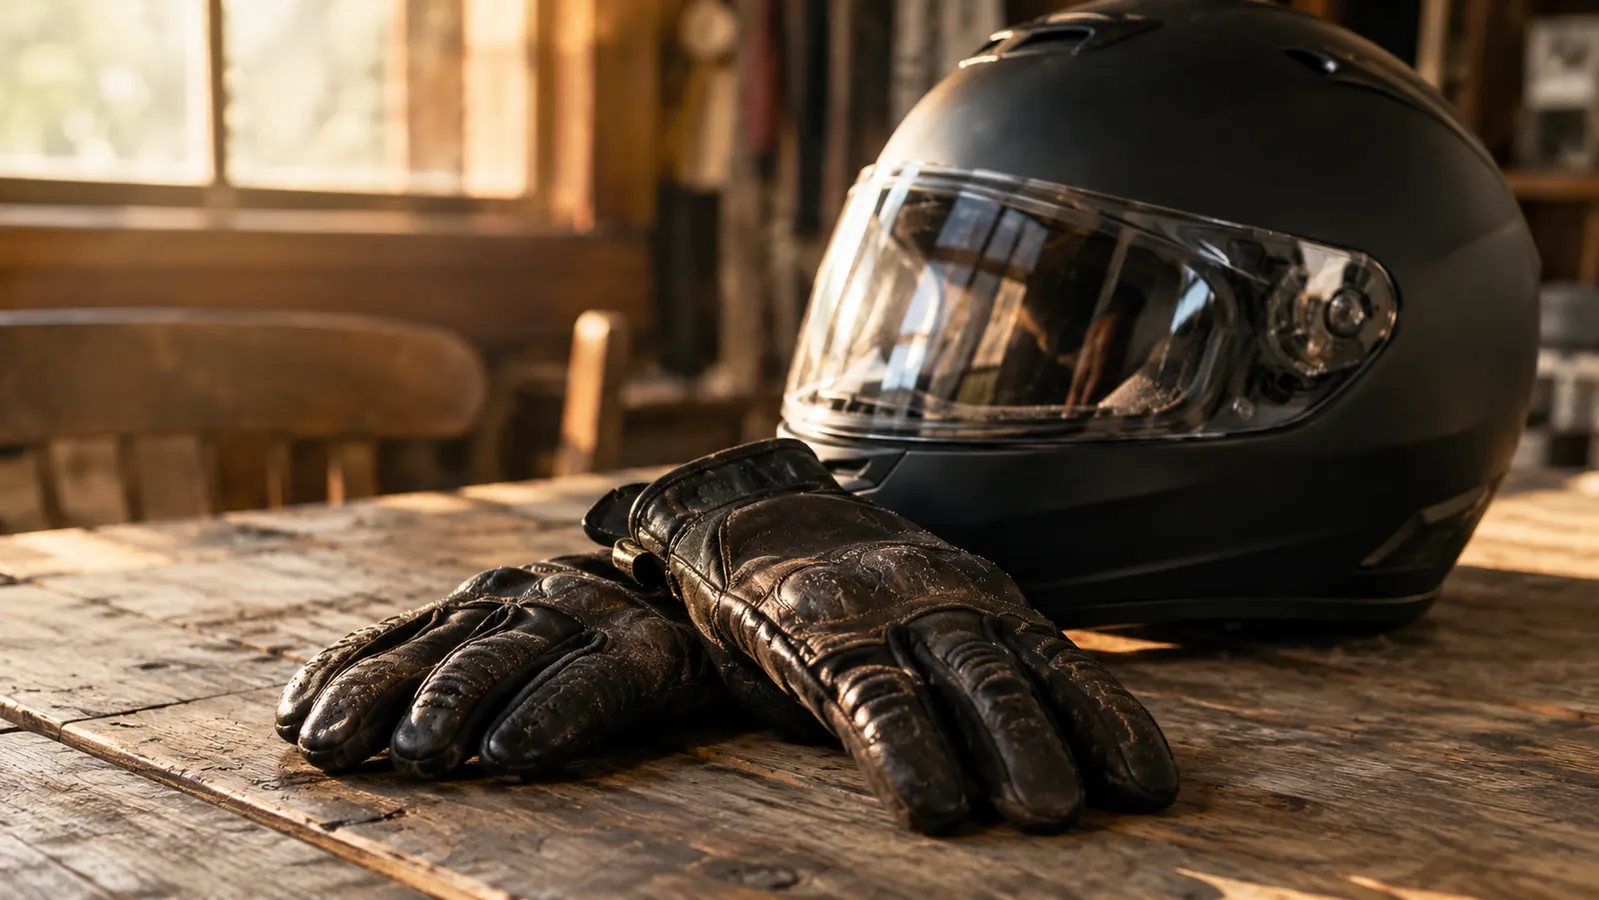
A few things make fit and break-in easier once you have the right pair. Wear the gloves around the house for an hour or two while you do chores or watch TV. Body heat does more for break-in than anything else. Use a leather conditioner made for motorcycle gear, applied sparingly to the outside, to keep the hide supple. Keep a pair of thin glove liners for cold mornings; they add warmth without changing the fit much. And store the gloves flat or loosely rolled, not stuffed in a saddlebag under a tire iron. A glove that keeps its shape keeps its fit.
By the end of the first week, the COMMUTER gloves had relaxed across the knuckles and the palm. By the second week, they felt like they had been on my hands for years.
Choosing motorcycle gloves does not have to be a gamble. Measure the palm, check the three fit zones, test them in the riding position, look at the seams, and give the leather a week to settle. Do that, and the pair you pick will feel like it was made for your hands. The COMMUTER gloves are the pair that passed every one of those checks for me, and they are still the ones I grab on the way out the door.
Get a Pair That Passes Every Check
If you want the same fit I ride with, the COMMUTER premium leather gloves are the pair to start with. Sized right and broken in fast, they are ready for daily rides and long trips.
Amazon Check Today's Price on Amazon →