
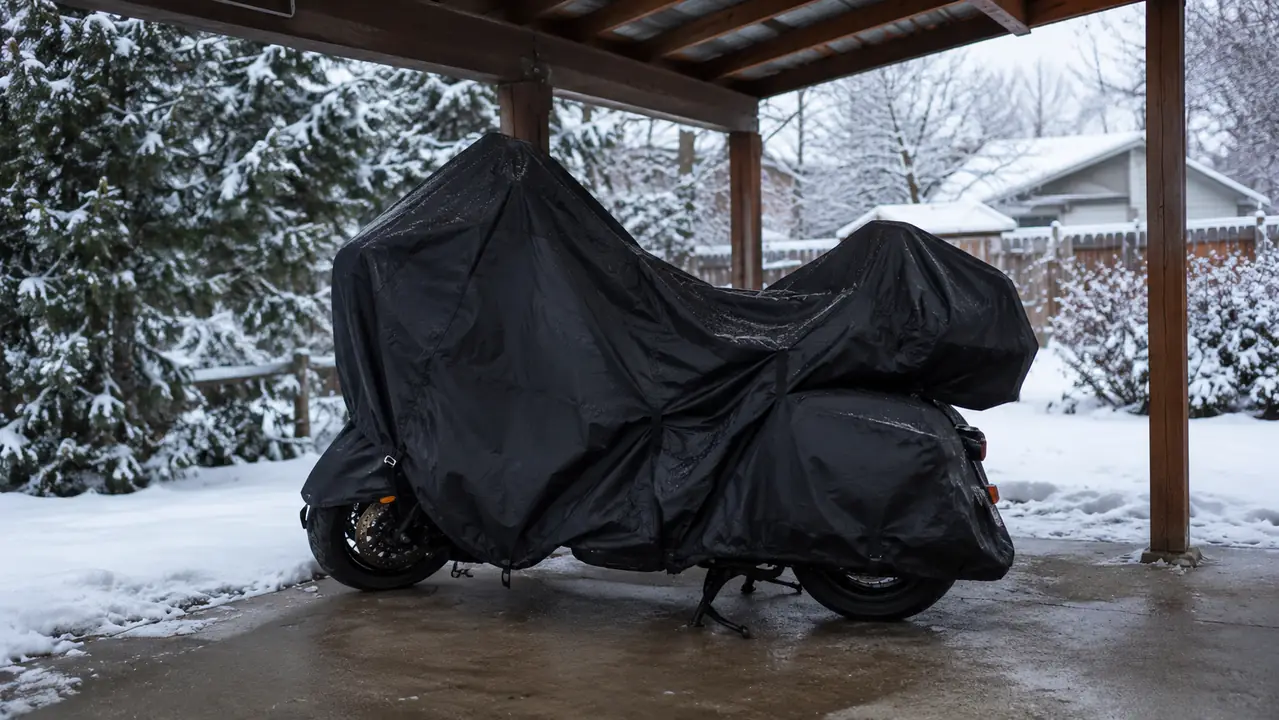
I have stored my 2017 Harley-Davidson Road King outside through five Idaho winters. That is not a boast. It is a confession. Twin Falls gets cold, it gets windy, and a motorcycle parked under the sky takes a beating that a garage bike never does. But I did not have a garage, I was not going to pay heated storage, and I was not going to stop riding just because the calendar said November. So I learned the hard way what actually matters when you cover a bike and leave it until March.
The short version: a good cover does about half the job, and the other half is prep work that has nothing to do with what you wrap around the bike. The cover I have settled on is the Favoto Motorcycle Cover, and it has now survived three winters, two of them fully outside. But the cover only works because of everything I do before it goes on.
The cover that has survived three Idaho winters on my Road King
The Favoto Motorcycle Cover is waterproof, wind-resistant, and built to stay put in weather that would shred a cheap tarp. I use it every winter and through summer dust storms too. See today's price on Amazon.
Amazon Check Today's Price on Amazon →Step 1: Give the bike a full wash and a real wax before it sits
A dirty motorcycle stored under a cover is a corrosion experiment. Road salt, bug splatter, and the film of grime that builds up over a riding season all hold moisture against the paint and chrome. Under a cover, that moisture does not dry. It sits there for months. I wash the Road King thoroughly in late October, dry it completely, and then put on a coat of automotive wax. The wax is not for looks. It gives the paint a barrier so water never actually touches the clear coat all winter.
The first winter I stored the bike outside, I skipped the wax because I figured the cover would do the work. By March, the fork tubes had a line of fine pitting right where water had pooled against the lower triple clamp, and the front fender had a dull spot the size of my palm. No amount of polish got the shine back. I have waxed every October since, and that was the winter I learned the difference between a bike that is covered and a bike that is prepared.
The chrome gets the same attention. I wipe down the exhaust headers, the rims, and the fork tubes with a chrome protectant, then let it dry before the cover goes on. This matters more than people think. Chrome is the first thing to pit on an outdoor bike, and once it pits, you are not polishing it out. I use a soft rag, work it in slowly, and give it an hour to cure. That hour costs me nothing and it has kept the Road King's chrome looking like the bike lives in a garage.
Step 2: Fill the tank, add fuel stabilizer, and run the engine for ten minutes
An empty or half-empty tank is a condensation factory. Warm days and cold nights push moisture into the air space above the fuel, and that moisture ends up in your gas by spring. I fill the tank to the brim in late fall, pour in the correct dose of fuel stabilizer, and then take the bike for a solid ten-minute ride so the treated fuel makes it all the way through the fuel system. The stabilizer protects the gas that sits in the tank, but it only protects the gas in the lines if you actually run it through.
I learned that the year I skipped the stabilizer because the tank was already full and I was in a hurry. The bike sat from mid-November to early March, and when I finally turned the key, it fired, ran rough for two minutes, and died. It took me an afternoon to drain the tank, flush the lines, and refill with fresh fuel before it would idle on its own. The fuel in a motorcycle tank does not go bad in one winter, but it degrades, and a bike that has to be coaxed back to life is a bike you stop trusting. Stabilizer is a five-minute step that buys a spring morning of just starting it and riding.
I do the same thing with the oil. A fresh oil change before storage means the engine sits all winter with clean oil rather than oil full of combustion acids from the riding season. It is cheap insurance, and it means the bike is ready to ride the day the snow melts instead of being stuck in the driveway doing maintenance. On the Road King I change the oil in late October, right after the final wash, so the bike goes into the cover with everything fresh. I top off the brake fluid and check the coolant while I am at it, so spring is just a battery check and a ride.
Step 3: Keep the battery on a tender, or accept a dead battery by March
The battery is the part of the bike that actually dies over winter. I run a battery tender lead straight to the terminals and leave the tender plugged in all winter. The bike is outside, so I route the tender cable carefully and make sure the connection point stays dry. A battery tender is not a charger you leave on forever. It floats the battery at the right voltage and stops when the battery is full. That keeps the battery healthy for years.
The winter before I bought the tender, I left the battery in the bike and never plugged anything in. Come mid-March, the dash lights came on, the fuel pump primed, and then the starter clicked once and the lights went flat. I jumped it from the truck, rode it for an hour, and it started fine for the rest of the day, but a battery that has been deeply discharged once is never quite the same. I replaced that battery two seasons later, and I have run a tender on every winter since.
If you cannot run power to the bike, your options are limited. You can pull the battery and keep it in the house on a tender, which is the better choice if you have no outdoor outlet. Or you can accept that the battery will be flat in the spring and plan to jump it. I have done all three over the years. The tender is the least annoying by a wide margin, and it costs nothing in the long run because the battery lasts years longer.
Step 4: Cover the bike with the Favoto cover, and secure it like you mean it
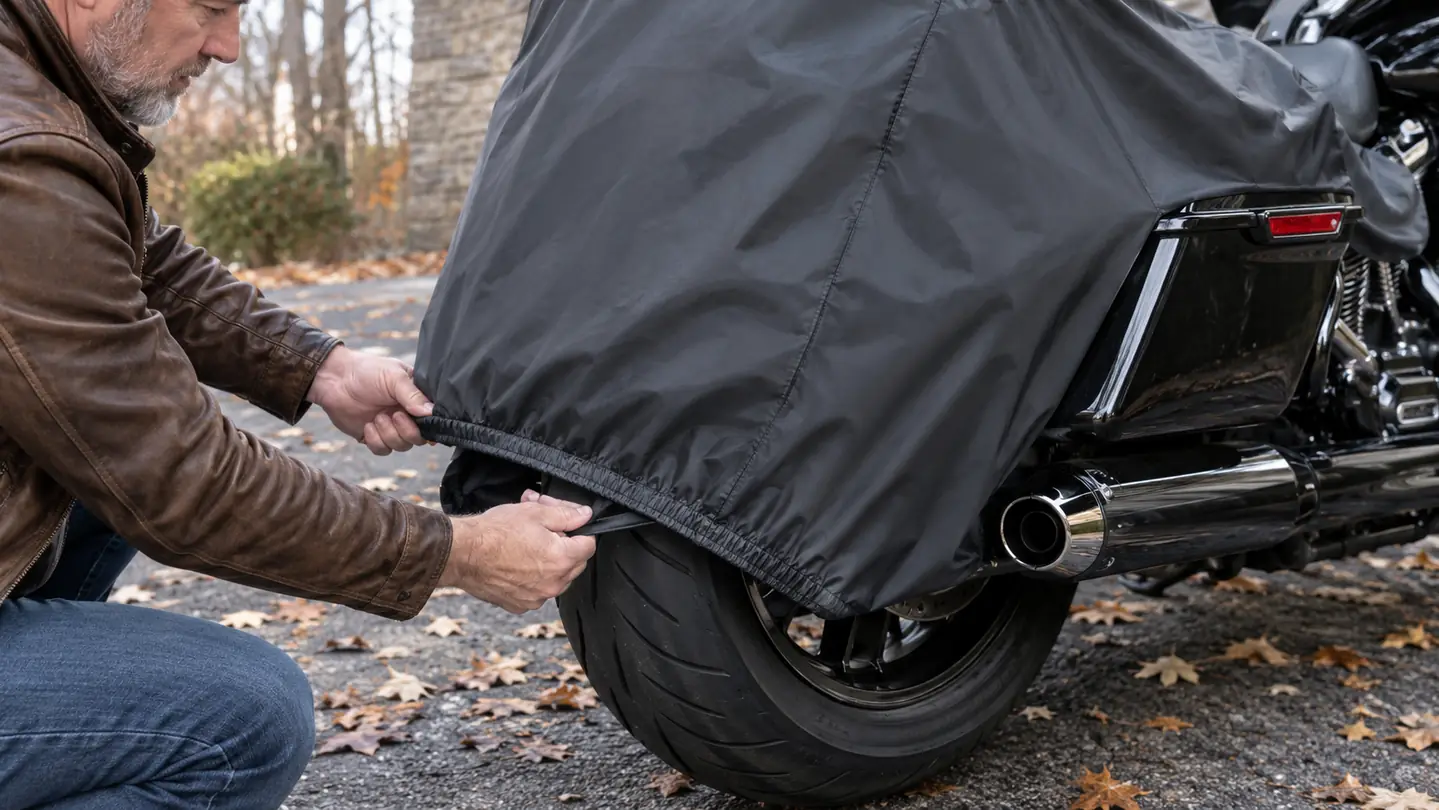
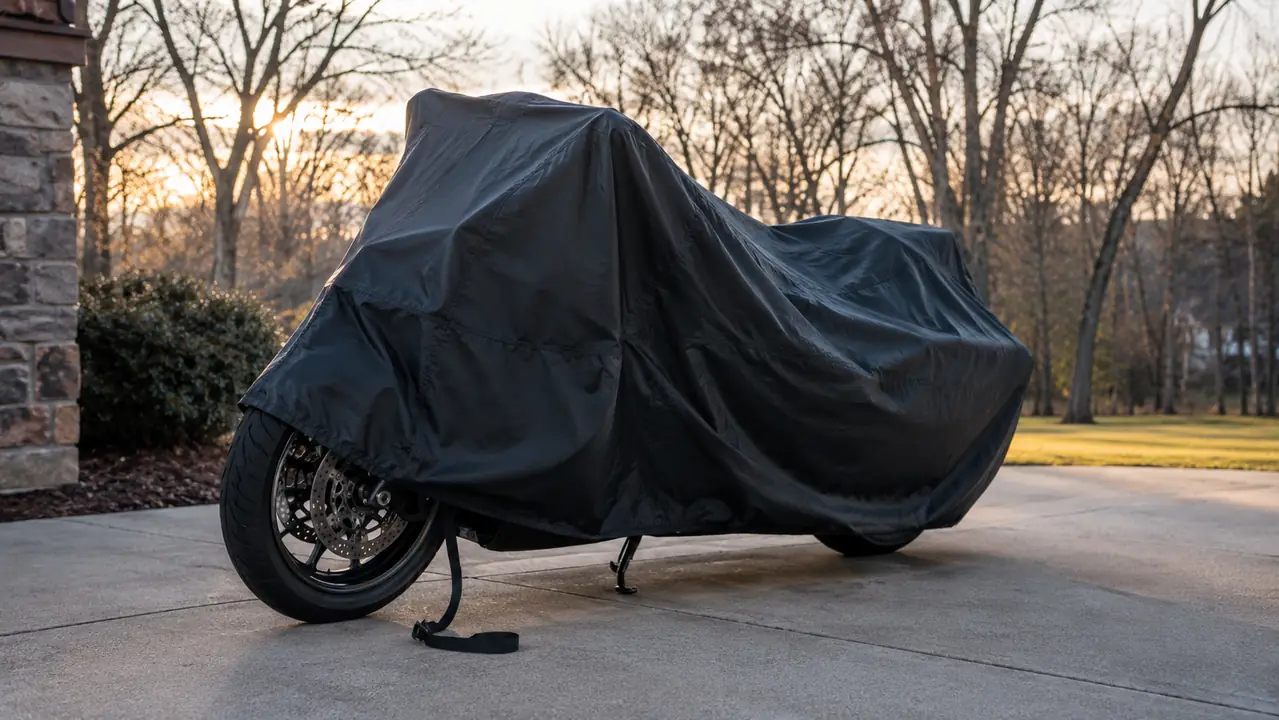
This is where the cover earns its keep. The Favoto Motorcycle Cover is a heavy, waterproof cover with a soft lining, and it is sized for a full touring bike like the Road King. It goes on easily, but the important part is what happens after it is on. The cover has elastic hems front and back, plus a strap in the middle that runs under the bike. I pull the elastic down around the front and rear tires, then cinch the strap so the cover fits the bike like a fitted sheet instead of a tent.
My first outdoor winter, I used a cheap universal cover that I had bought for a different bike years earlier. It was too big for the Road King, it had no strap underneath, and by February the wind had worked the material into a threadbare patch where it rubbed the windshield. The Favoto cover, by comparison, has held up through three winters with no thinning and no tears. The soft lining is the detail I notice most. The bike comes out of the cover in March without a single rub mark on the paint.
A cover that flaps in the wind is a cover that wears through. The flapping motion rubs the lining against the paint, and over a winter of 40 mile-per-hour gusts, that rubbing can leave marks. The Favoto cover has survived three winters on my bike because I take the two extra minutes to make it tight. I also angle the bike so the front faces the prevailing wind. That keeps the cover from ballooning and catching air like a sail. In a January windstorm here, gusts hit the side of the house hard enough to rattle the windows, and the cover stayed put.
Step 5: Check on the bike every few weeks, especially after storms
Outdoor storage is not set-and-forget. I walk out to the bike every couple of weeks, especially after a heavy snow or a windstorm. I brush off any heavy snow buildup so the cover does not stretch under the weight. One February, we got eighteen inches in a single weekend, and the snow sat on the seat area so long that the cover stretched enough to sag onto the mirrors. I cleared it off the next morning and the cover bounced back, but that was the day I started checking after every storm instead of every other week. I check that the strap is still tight and the elastic is still down around the tires. I look for signs of an animal taking up residence under the cover, which has happened once. A curious mouse can do a lot of damage to a wiring harness over a winter.
That mouse winter was the worst check I have done. I found chewed insulation on the main harness near the battery tray, and I spent a weekend in March splicing and taping wires before the bike was roadworthy. Since then, I put a couple of dryer sheets in the exhaust pipe and under the seat before the cover goes on, and I check them every time I walk the property. It is not a guarantee, but I have not had a repeat.
I also take the opportunity to check the tender connection and make sure no moisture has worked its way into the cover's seams. The Favoto cover has sealed seams, which is one of the reasons I trust it, but no cover is a sealed box. A quick visual check every few weeks catches small problems before they become spring projects. It takes about ten minutes, and it is the difference between a bike that starts in March and a bike that surprises you.
What Else Helps
A few extras make outdoor storage noticeably easier. A small piece of plywood or a rubber mat under the tires keeps moisture from wicking up through the concrete over months. I cut a piece of 3/4-inch plywood to fit under both tires, and it has kept the bottom of the wheels dry even during the thaw. I put a dryer sheet in the exhaust pipe and a couple more under the seat to discourage mice, and I check them on my storm rounds. I also spray the exposed fasteners and the chain with a light coat of corrosion inhibitor, then wipe off the excess so it does not attract dust.
If you have a spot against a wall or under a carport, use it. The cover does its job in the open, but a little overhead protection means less snow load and less direct sun in late winter. I park under a carport with the cover on, and the combination has kept the paint and chrome looking like the bike has been garaged. On the coldest stretch last January, when it stayed below zero for a week, the carport also meant I was not digging the bike out of a snowdrift after every storm.
One more thing: keep an eye on tire pressure. Cold air drops pressure, and a bike sitting on flat tires through the winter can develop a flat spot. I top the tires to the recommended pressure before the cover goes on, and I add a few pounds in January if the gauge says they have dropped. It takes two minutes and it means the bike rolls out of storage without that first-mile thump.
A cover that flaps in the wind is a cover that wears through. The Favoto cover has survived three Idaho winters on my Road King because I take the two extra minutes to make it tight.
Set your bike up for a spring that starts with a ride, not a repair
The right prep work and a cover that actually stays put will get your motorcycle through the winter outside. The Favoto Motorcycle Cover has done it for me three years running. Check today's price on Amazon.
Amazon Check Today's Price on Amazon →