
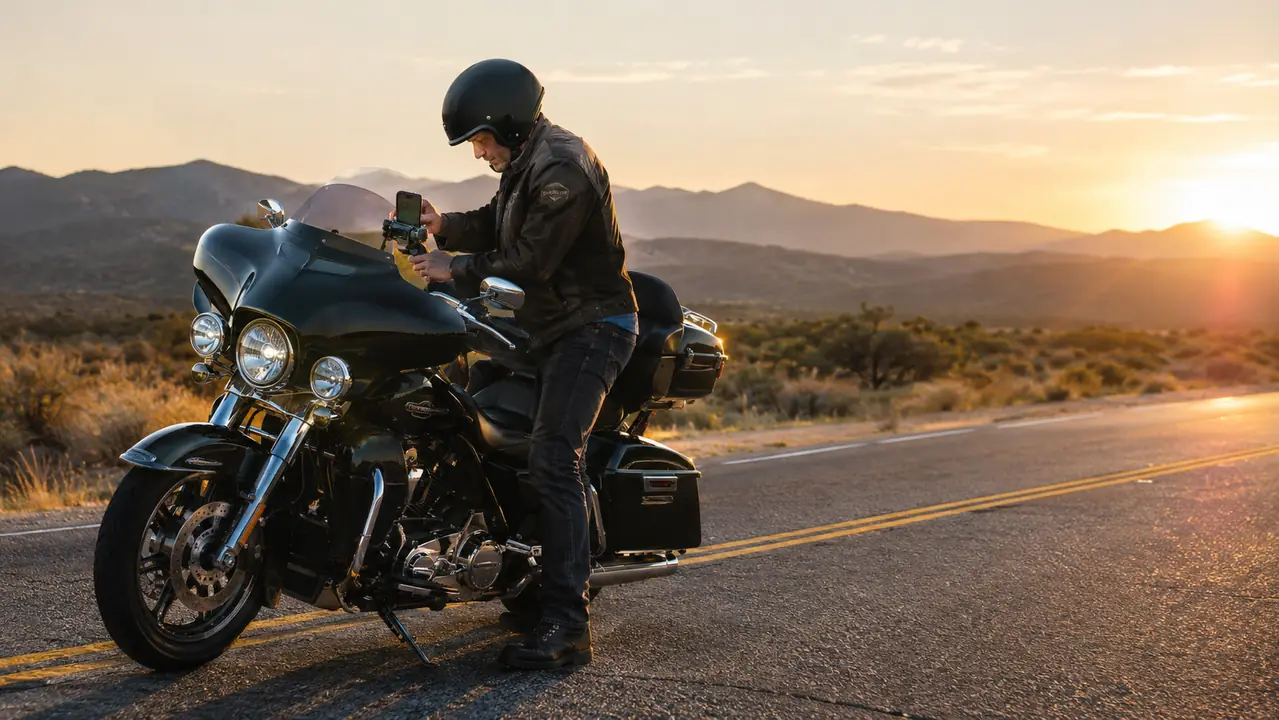
I have thrown two phones off motorcycles. The first one bounced down a gravel shoulder outside Buhl and I found it in three pieces. The second one, a few years later, sailed into a ditch on the way to Jackpot and I never found it at all. Both times the mount looked fine when I installed it. Both times it let go at speed. So when a riding buddy handed me a JOYROOM motorcycle phone mount and said try this one, I did what I always do with new gear: I read the instructions, bolted it on, and then spent a few weeks trying to make it fail.
This guide walks through exactly how I mounted mine on a 2017 Harley-Davidson Road King, how to pick the right spot on your own bars, and what to check before you trust it with a phone you actually like. The steps are the same whether you ride a touring bike, a naked bike, or a commuter. The goal is simple: the phone stays put when you accelerate, when you hit a pothole, and when a semi passes you going the other direction.
A mount that has stayed put through 60,000 miles of road
The JOYROOM handlebar mount uses an auto-lock cradle and a four-point grip to hold your phone through vibration, wind, and hard braking. It installs in about ten minutes with no tools beyond the hex key in the box.
Amazon Check Today's Price on Amazon →Step 1: Pick the Right Spot on the Bars
Before you tighten anything, decide where the mount lives. On my Road King the natural spot is the left handlebar, just inboard of the grip and clutch perch. That keeps the phone close to my line of sight without blocking the speedometer, the turn signals, or the cable routing. You want the phone high enough that you can glance at it without dropping your chin, but not so high that it becomes a sail in crosswinds.
Two things to avoid. First, do not mount the phone over the clutch or brake reservoirs. You need to reach those levers, and a mount in the way turns an emergency stop into a fumble. Second, check the clearance at full lock. Turn the bars all the way left, then all the way right, and make sure the mount does not hit the tank, the fairing, or your knuckles. On a touring bike with a wide fairing this matters more than people think. I test full lock before I tighten the clamp all the way, and I recommend you do the same.
If your bike has a crossbar, that is also a fine location, and some riders prefer it for the higher view. The JOYROOM clamp opens wide enough for standard handlebar diameters from about 0.5 to 1.2 inches, which covers most stock bars and a lot of aftermarket ones. Just keep the phone away from the throttle tube. Anything mounted on the throttle side adds rotating weight to the grip and can interfere with smooth throttle control.
Step 2: Clamp the Mount Tight, Then Tighten It Again
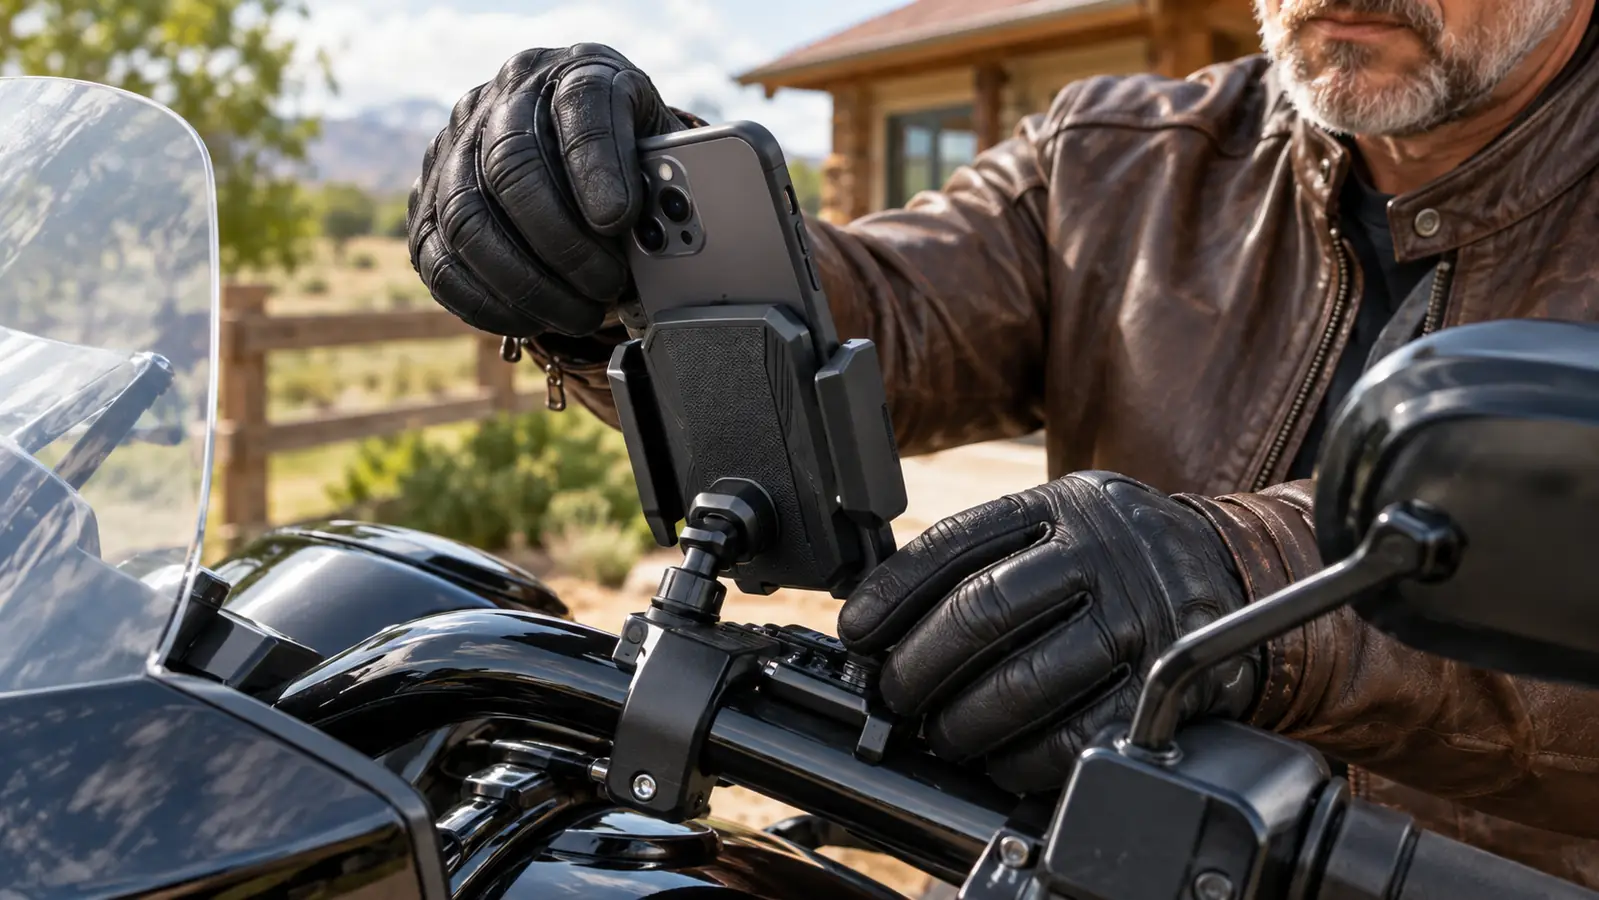
The JOYROOM mount uses a split clamp with a rubber liner that grips the bar. Slide the clamp around the bar where you want it, with the cradle facing up and slightly toward you. Hand-tighten the bolt first, then use the hex key that comes in the box to seat it properly. The rubber liner is the part that does the real work. It keeps the clamp from walking down the bar when you hit bumps.
Here is the mistake people make: they tighten the clamp just enough that it feels snug, then they never touch it again. Vibration works on every fastener on a motorcycle. I check the clamp bolt on the first ride after installing it, then once a month after that. On a recent trip through the Sawtooths I stopped for gas in Stanley and found the clamp had loosened maybe a quarter turn. Ten seconds with the hex key and it was back to solid. That is maintenance, not a design flaw.
One more note on clamping. If your bars have a textured or knurled section, avoid clamping directly over it if you can, because the uneven surface makes a less predictable grip. Move the clamp an inch or two until it seats on smooth bar. The JOYROOM clamp will still work on a knurled section, but smooth is better.
Step 3: Install the Phone and Let the Auto-Lock Do Its Job
The JOYROOM cradle uses what the brand calls a one-second auto-lock. You drop the phone in from the front and the side arms snap closed on their own. There is no lever to flip, no screw to turn, and no second hand needed. This is the feature I was most skeptical about, and it is the one that has won me over completely. On the Road King I can mount the phone one-handed while holding my helmet with the other.
The cradle holds the phone at four points: two side arms and a bottom lip. It will fit a bare phone or a phone in a slim case. I run mine in a standard rubber case and it locks in fine. If you use one of those heavy armor cases, test it before you leave the driveway. The side arms need to seat properly, and an oversized case can make the lock feel shallow.
Here is the detail that matters on rough roads: the lock mechanism is spring-loaded, so it keeps pressure on the phone as the bike vibrates. Cheaper mounts rely on a fixed cradle and the phone rattles against the plastic until it works its way loose. The JOYROOM holds constant tension, which is why it has stayed put through canyon roads that have loosened the bolts on my saddlebags.
Step 4: Do the Shake Test Before You Ride
Before the first ride with any new mount, I do what I call the shake test. With the phone locked in the cradle, I grab the whole assembly and try to shake the phone loose. I pull at it, push it sideways, and give it a sharp downward tug. If it stays put through that, it will stay put on the road. If it moves even a little, the cradle is not seated right and you need to fix it before you go anywhere.
Then I do a slow speed test in the driveway or a parking lot. Ride a few laps at 15 mph and hit a few bumps on purpose. Then pull over and check the phone. It should not have shifted, and the clamp should not have moved on the bar. After that, take it up to highway speed for a few miles and check again at your first stop. This is the process I used with the JOYROOM mount, and it passed every stage on the first try.
One thing to know about highway speed: the phone will move slightly in the wind, and that is normal. A phone held in any cradle will flex a few millimeters when a gust hits it. What you are looking for is the phone staying in the cradle, not the phone being perfectly motionless. The JOYROOM anti-shake design keeps the phone from bouncing around, but it does not and cannot make it feel welded to the bike.
Step 5: Ride, Then Make It a Habit to Check
Once the mount is on and tested, the job is mostly done. But every rider knows that gear needs eyes on it. I check the clamp bolt when I check my tire pressure, which is roughly every other fuel stop. The cradle arms get a quick look too, because road grime can build up in the mechanism over time. A little water and a rag handle that.
In the rain, the JOYROOM mount keeps working. The cradle is open enough that water drains out, and the phone's touchscreen still responds through a light film of water. If you ride in heavy weather, add a small waterproof phone bag for the phone itself. The mount holds the bag fine, though the touchscreen becomes less responsive through the plastic.
The long-term test is where the JOYROOM has earned its place on my bike. I have put roughly 4,000 miles on it since installing it, including a run down to Utah and back in a July heat wave. The clamp has not stripped, the spring mechanism still snaps closed the way it did on day one, and the phone has never once tried to leave the cradle. That is the standard I measure gear by, and this mount meets it.
What Else Helps
A good mount is the main thing, but a few cheap additions make the whole setup better. A tempered glass screen protector is the obvious one, because no mount protects the screen from a rock kicked up by the car ahead of you. A vibration damper is worth considering if you ride a bike with strong engine vibration, like a big twin or a thumper. The JOYROOM cradle does a solid job of damping shake on its own, but a damper adds another layer for long trips.
Also consider where you run your charging cable. I route a short USB cable from the handlebar to the phone, with just enough slack that it does not pull on the cradle when I turn the bars. Zip-tie the cable to the existing wiring along the fork. Loose cables are how phones end up dangling by their charging port. And if you use a phone with a camera that sticks out, make sure the cradle does not press on the lens. Most mounts, including the JOYROOM, are designed to avoid that, but it is worth a glance before you tighten everything down.
The JOYROOM mount has held my phone through 4,000 miles of canyon roads, July heat, and one very rough gravel stretch. I have stopped checking it at every fuel stop, and that is the highest praise I can give a piece of motorcycle gear.
The Bottom Line
Mounting a phone on motorcycle handlebars is not complicated, but it is not something you want to get wrong. Pick a spot with clear visibility and full-lock clearance, clamp the JOYROOM mount down tight, let the auto-lock cradle do its job, and verify the whole setup before you ride. Ten minutes of care on installation saves you from the thing I have done twice: watching a phone tumble down the road at 65 mph.
If you are tired of fighting with mounts that slip, or if you have never mounted a phone and want to do it right the first time, the JOYROOM handlebar mount is a solid place to land. It has survived my Road King, my riding habits, and my habit of hitting every pothole on purpose to test gear. That is more than I can say for the two mounts that failed me before it.
Ride with your phone where you can actually see it
The JOYROOM motorcycle phone mount installs in about ten minutes, locks your phone in with one hand, and keeps it steady through wind, rain, and rough pavement. Join thousands of riders who have made the same switch.
Amazon Check Today's Price on Amazon →